-
Last updated on September 13, 2024
-
If you are using a Bitnami server, please follow the steps below for the Converter for Media plugin to work properly.
-
Step 1.
Log in to your hosting dashboard and start an SSH connection to your website.
-
Step 2.
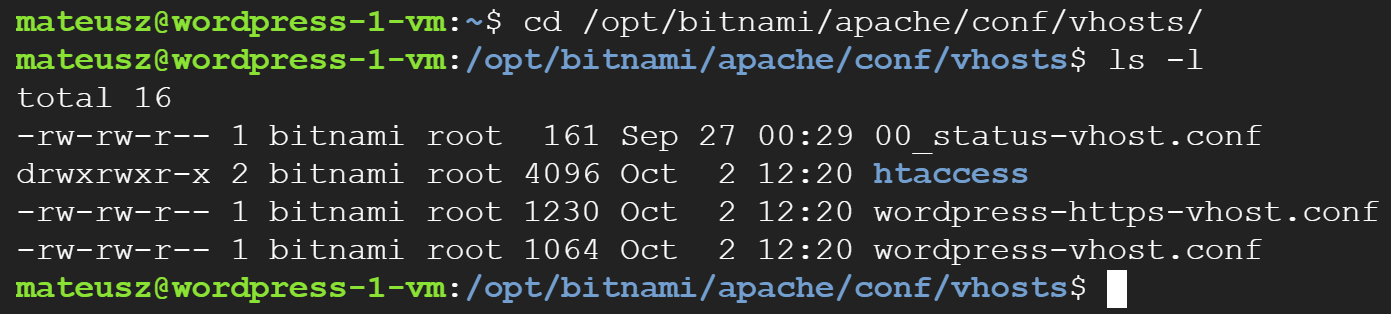
Go to the host configuration directory using the command:
cd /opt/bitnami/apache/conf/vhosts/Use the command to list the files in a directory:
ls -lFind files matching the pattern: APPNAME-vhost.conf and APPNAME-https-vhost.conf. These will always be two files with the same APPNAME prefix (the APPNAME prefix will be the name of your app). These files will be needed in the next steps. Our example includes the wordpress-vhost.conf and wordpress-https-vhost.conf files.
-
Step 3.
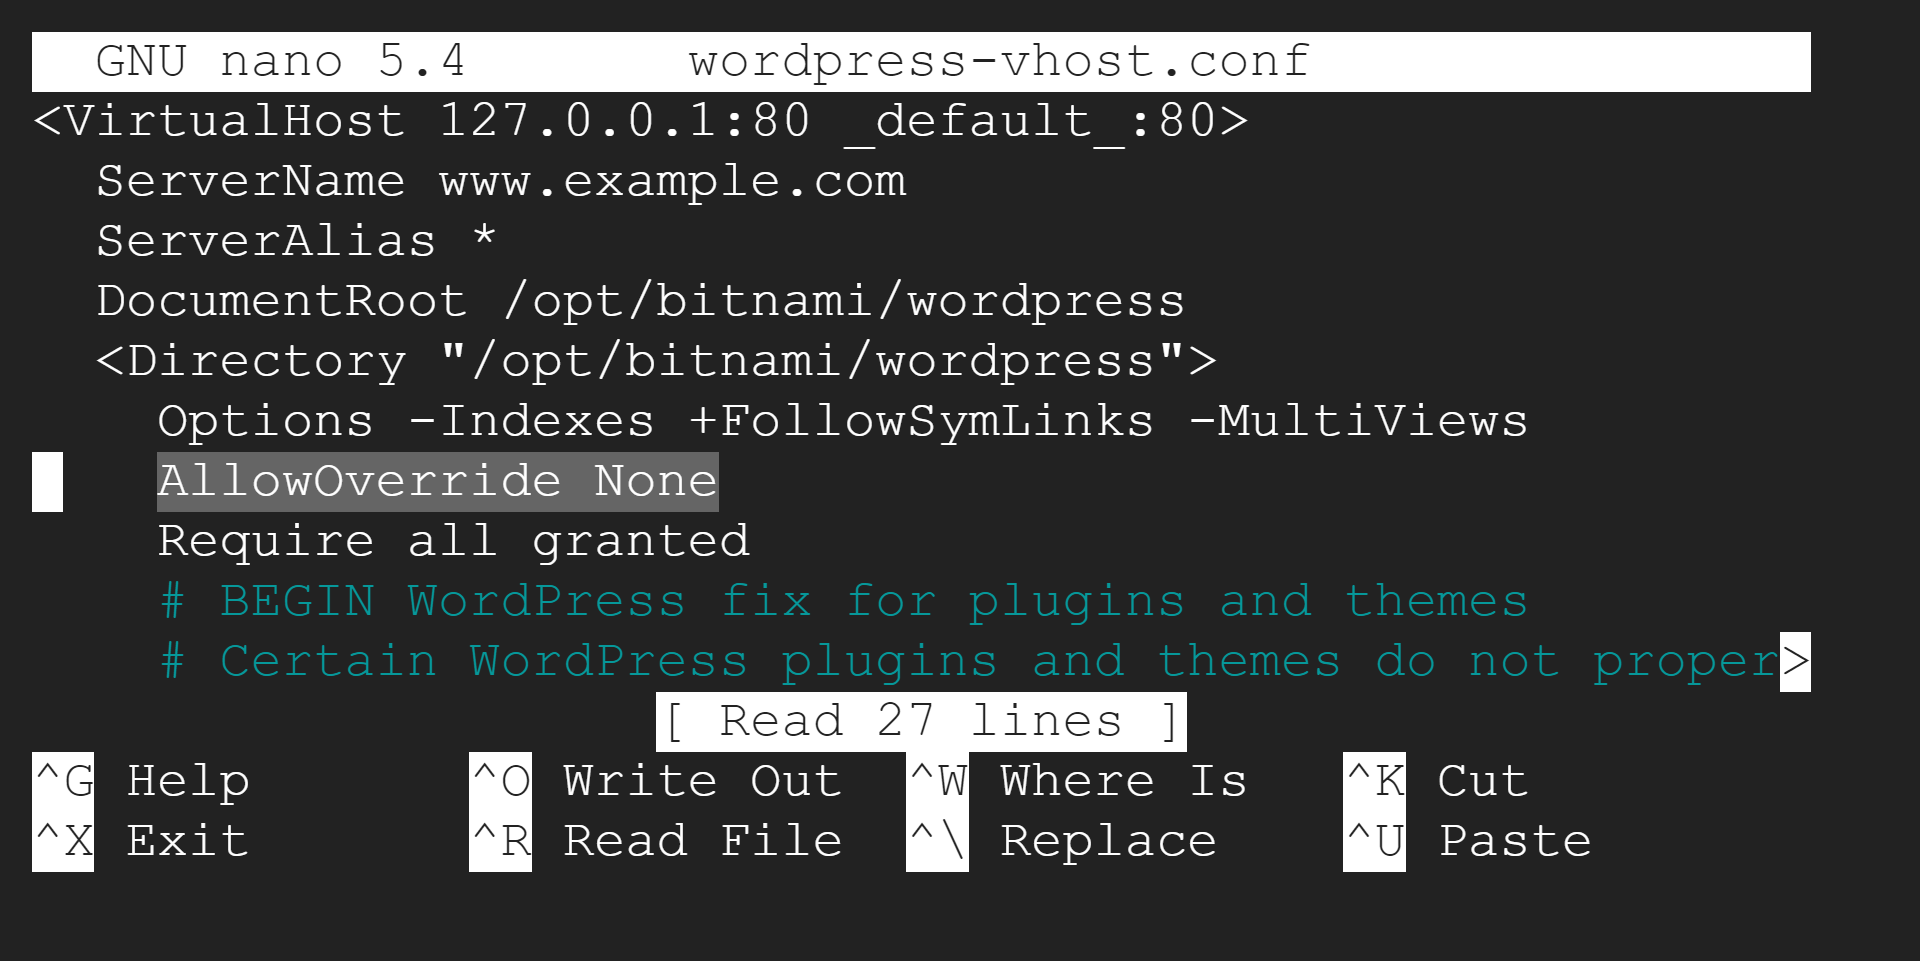
Edit the wordpress-vhost.conf configuration file using the command (on your server it may be another file matching the pattern: APPNAME-vhost.conf):
sudo nano wordpress-vhost.conf -
Step 4.
Find the “AllowOverride None” line and replace it with “AllowOverride All”.
-
Step 5.
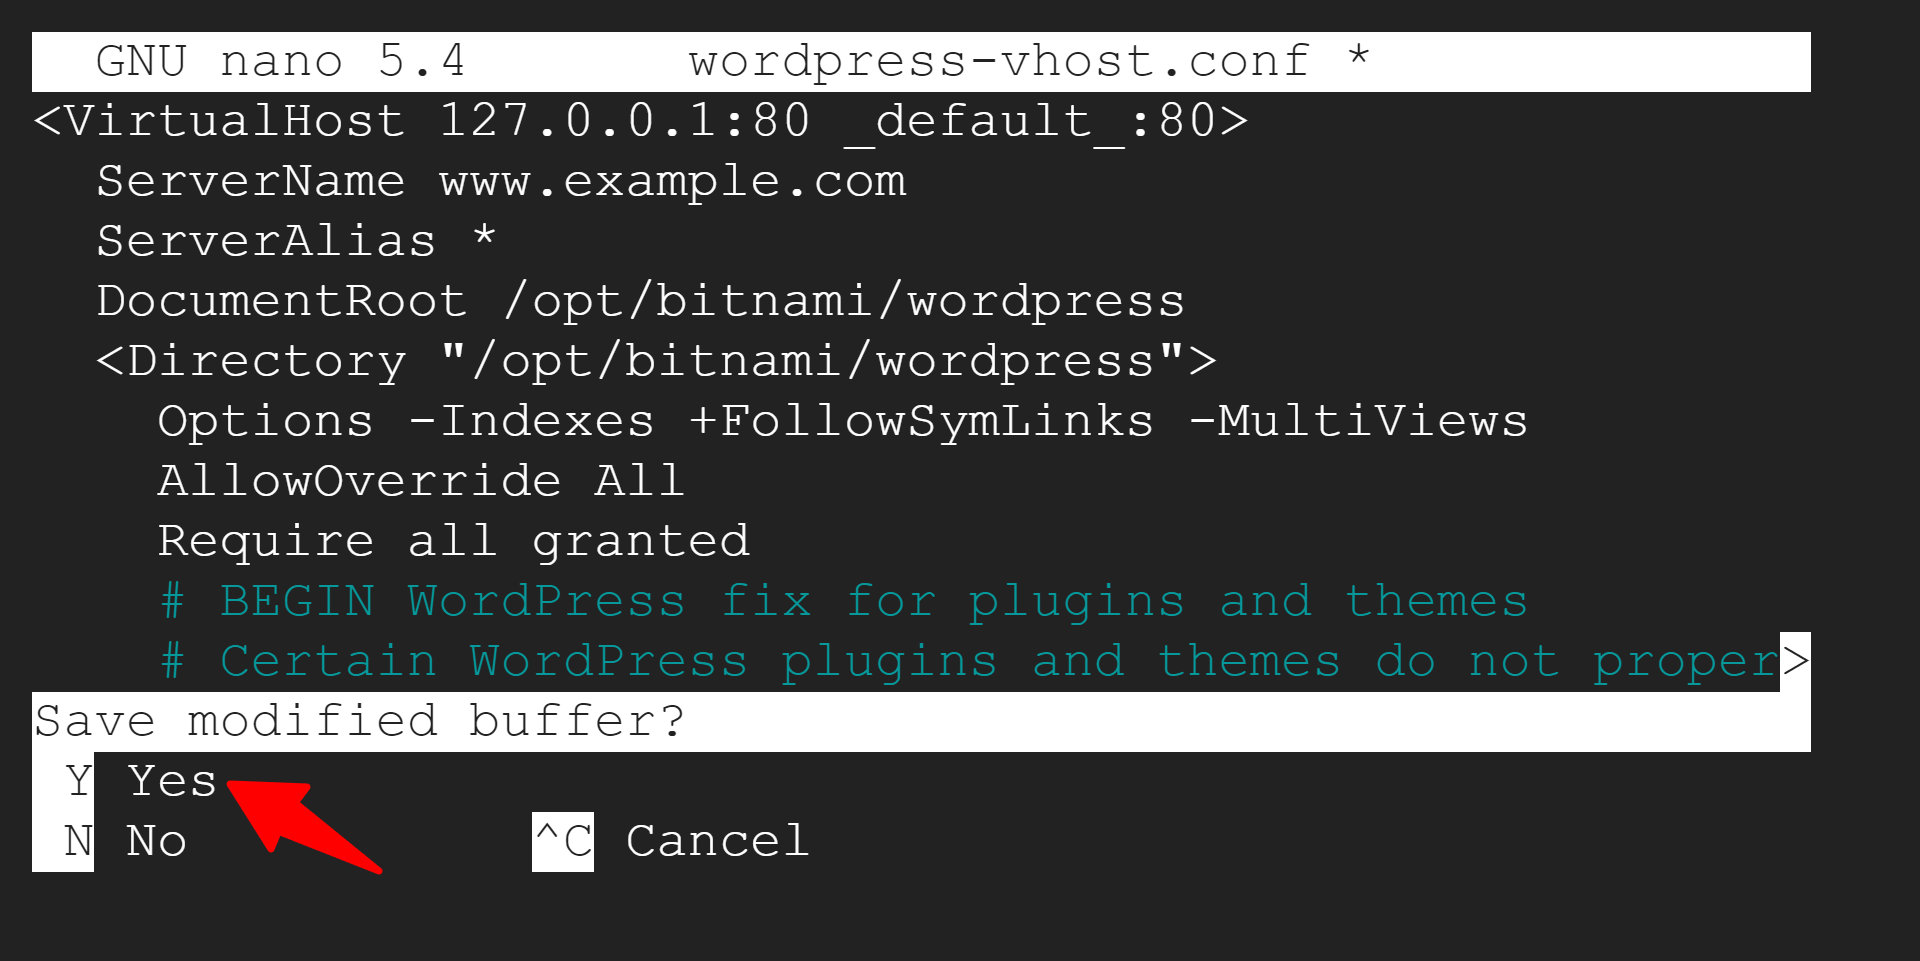
Exit the file (using the keyboard combination: Control + X) and save your changes.
-
Step 6.
Edit the wordpress-https-vhost.conf configuration file using the command (on your server it may be another file matching the pattern: APPNAME-https-vhost.conf):
sudo nano wordpress-https-vhost.conf -
Step 7.
Do the same as in steps 4 and 5.
-
Step 8.
Restart the Apache service using the command:
sudo /opt/bitnami/ctlscript.sh restart apache -
Step 9.
That’s all! Our plugin will work properly.