-
Last updated on September 13, 2024
-
If you are using a hosting managed by CloudPanel (Hosting Control Panel), please follow the steps below for the Converter for Media plugin to work properly.
-
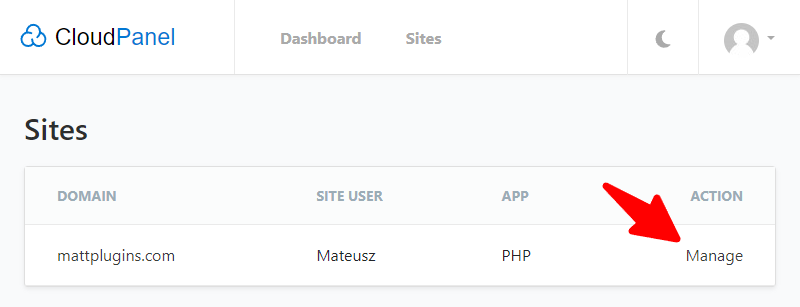
Step 1.
Log in to your CloudPanel dashboard and go to the “Sites” tab.
-
Step 2.
Find your website and click the “Manage” button.
-
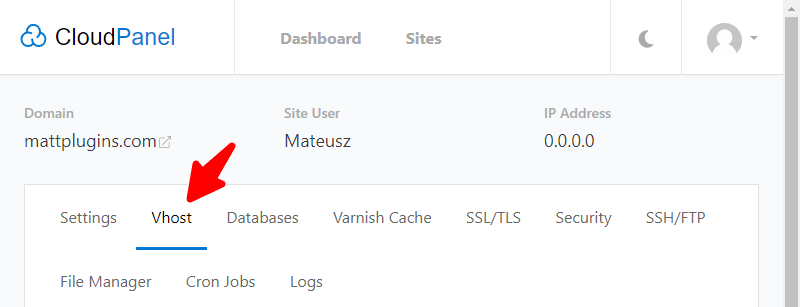
Step 3.
Go to the “Vhost” tab.
-
Step 4.
In the “Vhost Editor” field you will need to add additional Nginx rules required by our plugin. Add new rules before the
rewrite ...and thelocation { ... }directives: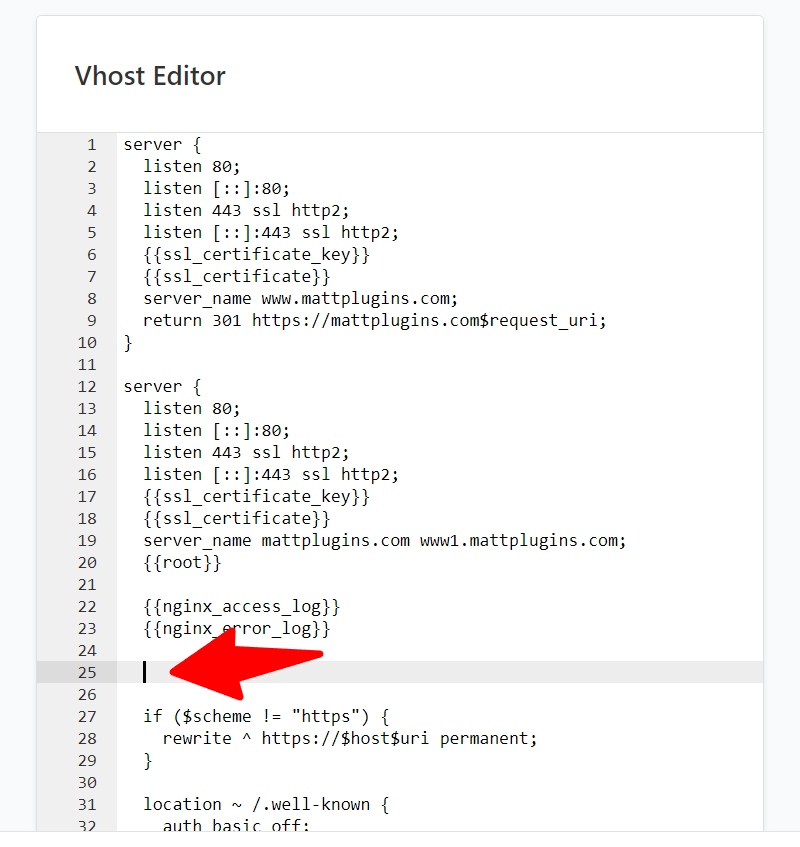
In the space marked in the screenshot above, add the following rules:
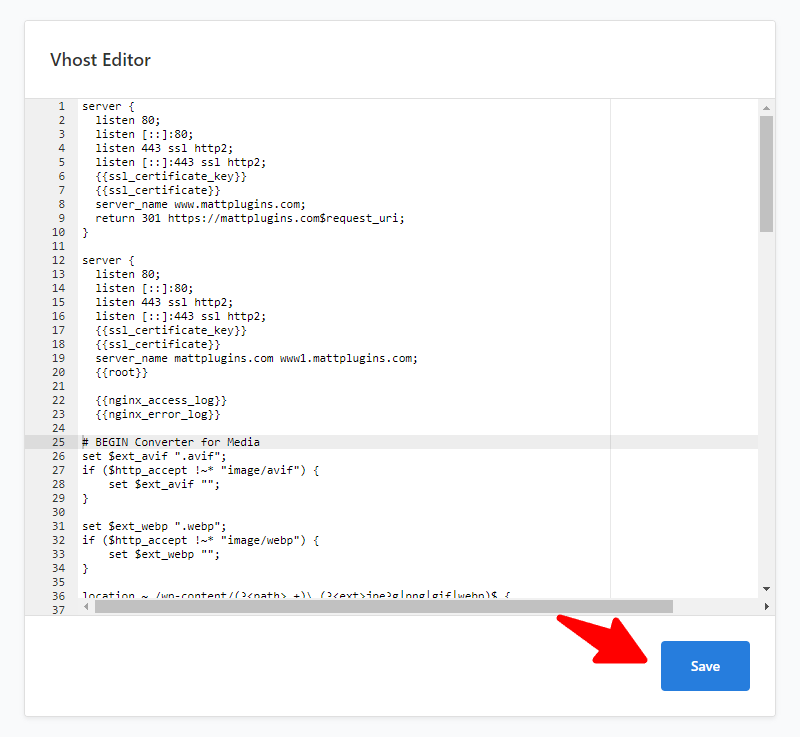
# BEGIN Converter for Media
set $ext_avif ".avif";
if ($http_accept !~* "image/avif") {
set $ext_avif "";
}
set $ext_webp ".webp";
if ($http_accept !~* "image/webp") {
set $ext_webp "";
}
location ~* ^/wp-content/(?<path>.+)\.(?<ext>jpe?g|png|gif|webp)$ {
add_header Vary Accept;
add_header Cache-Control "private";
expires 365d;
try_files
/wp-content/uploads-webpc/$path.$ext$ext_avif
/wp-content/uploads-webpc/$path.$ext$ext_webp
$uri =404;
}
# END Converter for Media -
Step 5.
Click the “Save” button to save your Nginx configuration changes:
-
Step 6.
That’s all! The error on the plugin settings page should disappear.