-
Last updated on February 17, 2026
-
If you are using the Cloudways hosting, please follow the steps below for the Converter for Media plugin to work properly.
-
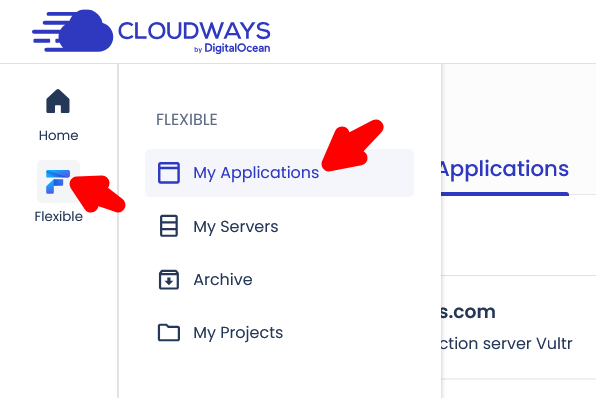
Step 1.
Log in to your Cloudways dashboard and go to the “My Applications” tab (or the “Applications” tab in the old version of the Cloudways dashboard).
-
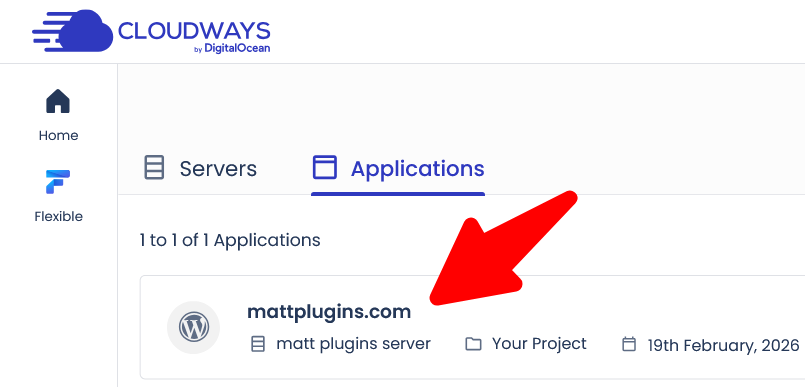
Step 2.
Find your website and go to its settings.
-
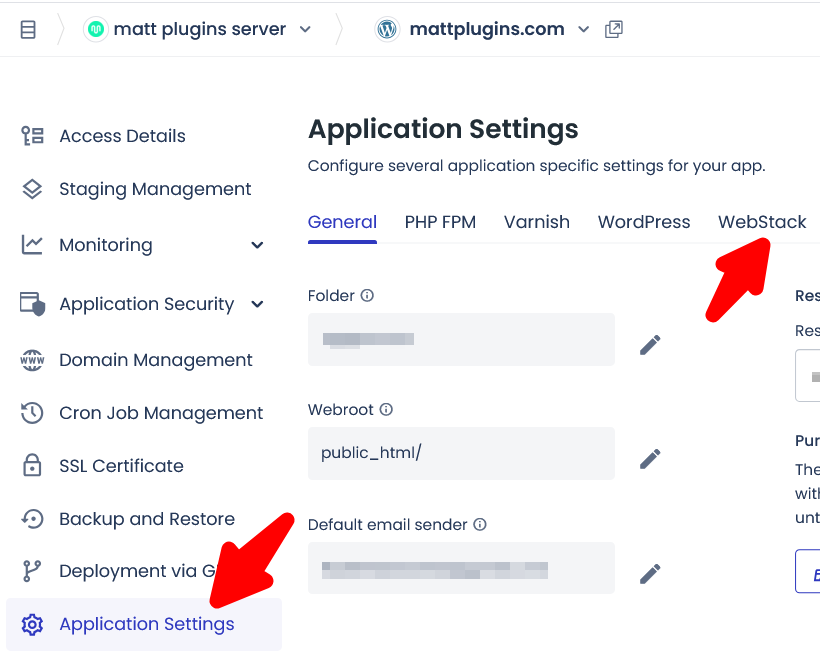
Step 3.
Go to the “Application Settings” tab and click on the “WebStack” tab.
-
Step 4.
Make sure you have the “Hybrid Stack” variant selected – if not, switch to the “Hybrid Stack” variant, click the “Update Now” button and wait for the message that the changes were saved successfully.
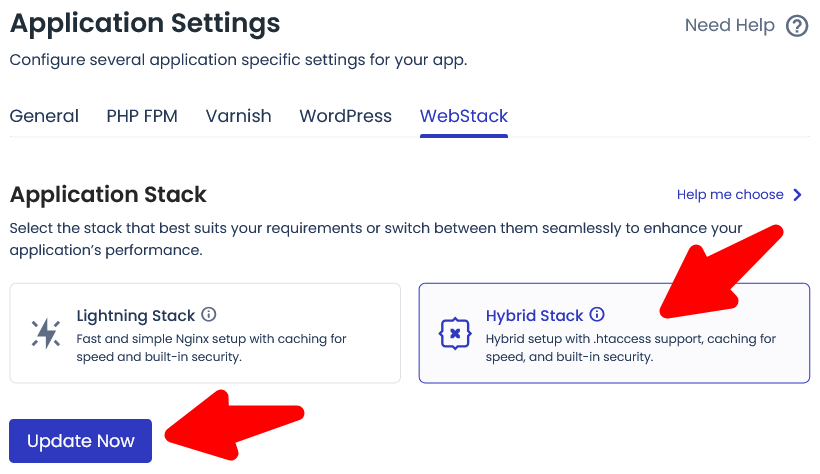
If you want to use the “Lightning Stack” variant, you will need to add your own rules to the Nginx configuration for your website (you need to ask your hosting support to add the rules described in our manual, from step 3). However, we recommend using the “Hybrid Stack” variant.
-
Step 5.
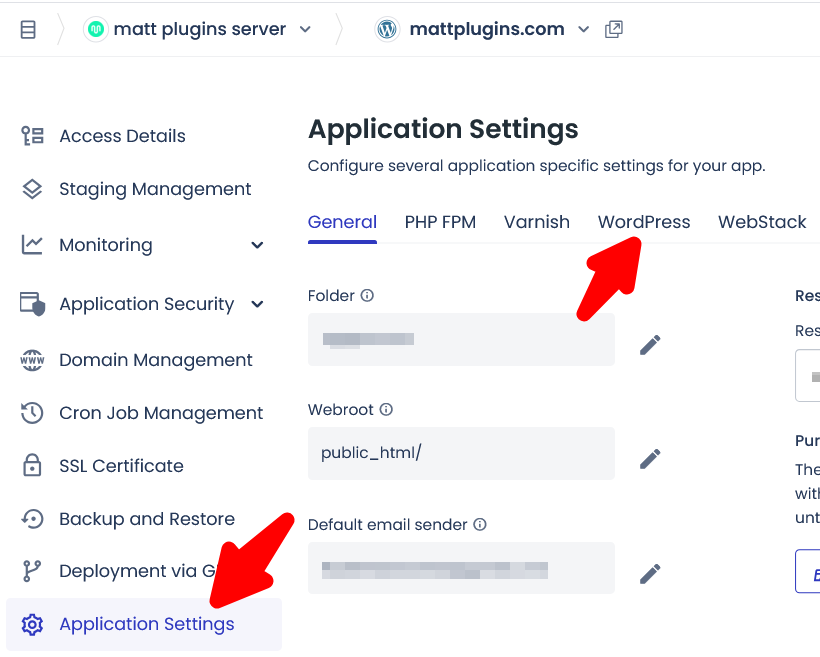
Go to the “Application Settings” tab and click on the “WordPress” tab.
-
Step 6.
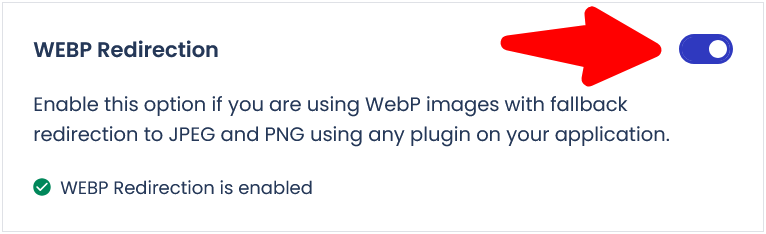
Enable the “WEBP Redirection” setting and wait one minute for the setting change to activate.
If you do not see the “WEBP Redirection” setting in the “Application Settings -> WordPress” tab, go to the “Application Settings -> General” tab and look for it there.
-
Step 7.
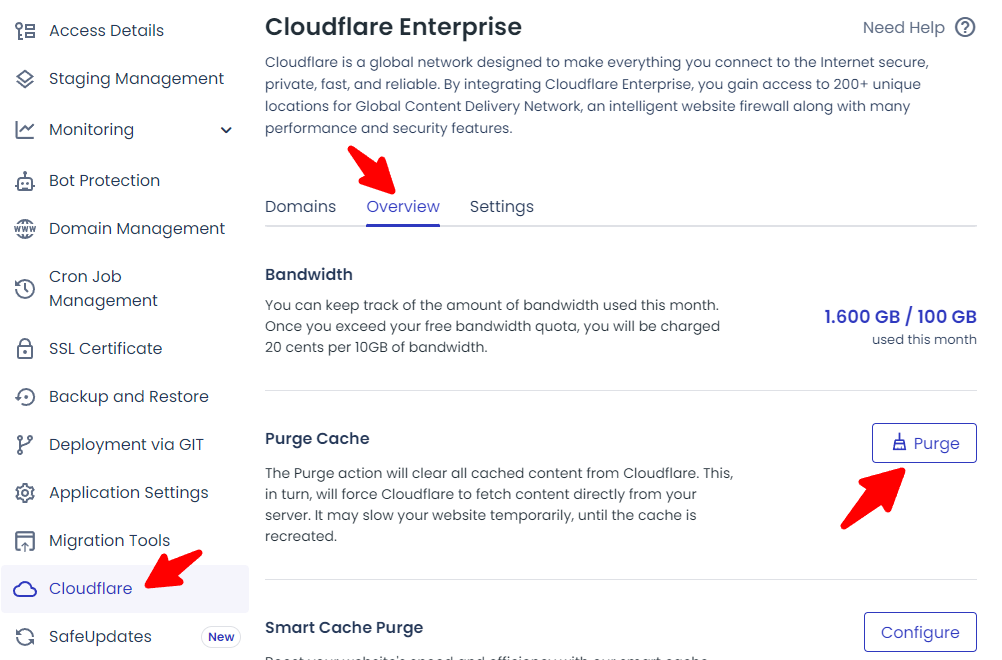
Go to the “Cloudflare” tab. If you are not using Cloudflare Enterprise, please skip this step. If you use it, go to the “Overview” tab and click the “Purge” button.
-
Step 8.
That’s all! Our plugin will work properly.