-
Last updated on September 13, 2024
-
Providing the Cloudflare configuration in the plugin settings will allow the plugin to automatically configure Cloudflare for your website.
-
If you are a Pro, Business or Enterprise Cloudflare’s customer, you will be able to use our Converter for Media plugin with active Cloudflare CDN Caching.
For Cloudflare free plans, our plugin will disable Cloudflare CDN Caching (but images in WebP and AVIF format will be displayed correctly). The Cache-Control header will be set to private. This is because in the Cloudflare free plans does not support the Accept header (read more). Available “Vary for Images” in your Cloudflare plan is necessary to use Cloudflare CDN Caching when loading WebP and AVIF files.
-
Step 1.
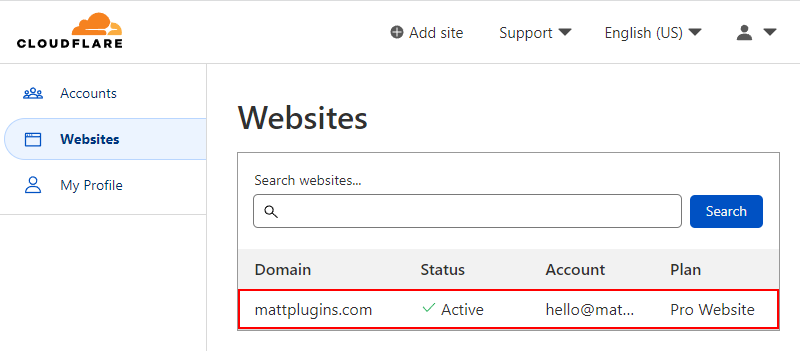
Log in to the Cloudflare dashboard and go to your website settings.
If you do not have access to the Cloudflare dashboard, because Cloudflare has been provided by your hosting then you will not be able to configure Cloudflare CDN Caching.
-
Step 2.
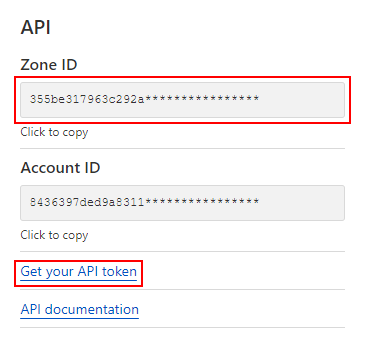
Make a note of the Zone ID value – you will need it later, then click Get your API token. It is important to generate a new API Token according to this instruction.
-
Step 3.
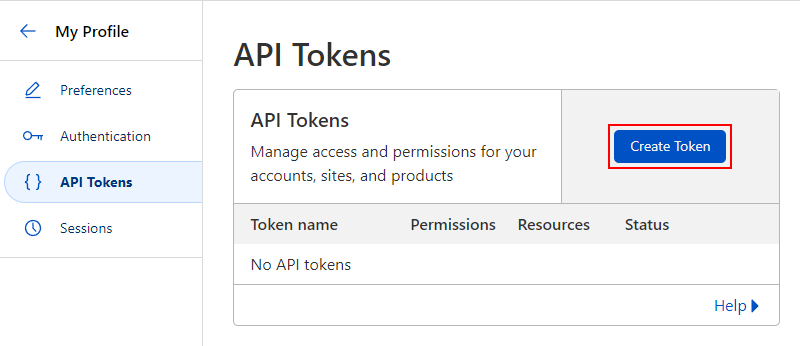
Click Create Token.
-
Step 4.
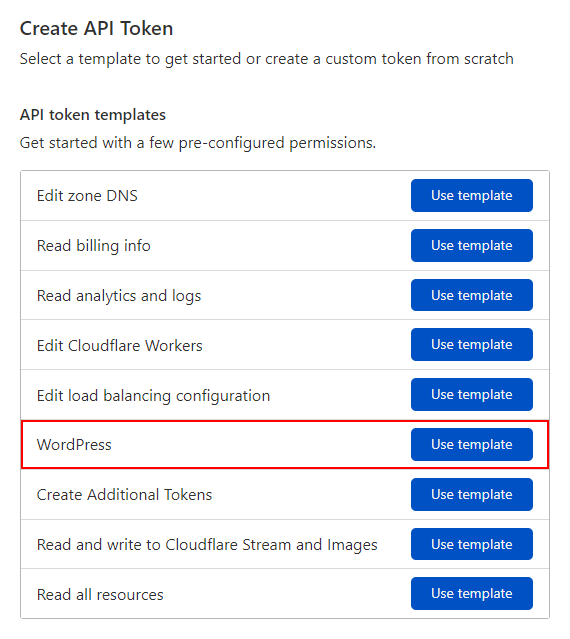
Use the WordPress template.
-
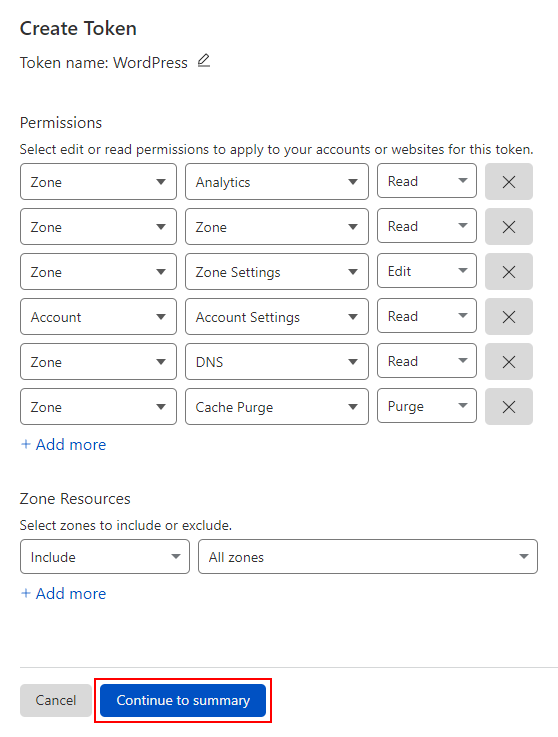
Step 5.
In these settings, you don’t need to change anything. Just click Continue to summary.
-
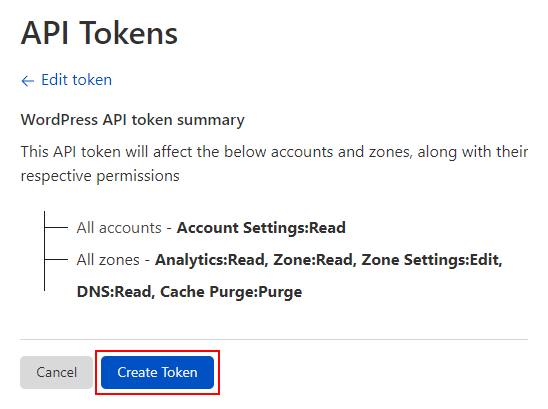
Step 6.
Click Create Token.
-
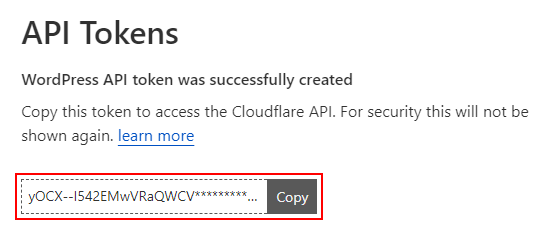
Step 7.
Copy the API Token value. You need this value and the previously copied Zone ID value.
-
Step 8.
Set the above values in the plugin settings (in the WordPress dashboard) in the fields:
- Cloudflare Zone ID
- Cloudflare API Token
-
Step 9.
That’s all! Our plugin will do everything for you!